Tuesday, August 26, 2014

Apricot Banana Chews


This is a fruit-sweetened citrus-packed cookie that keeps well in the fridge and lends a nice summery tangy sweet flavor.  The banana and apricots are complimented by the lemon, orange and grapefruit, though any blend of citrus will do.  These make a great breakfast or snack, and I can attest that after a very hilly 11+ mile run, they taste fantastic straight from the cold fridge.  Eat a few with coconut water to replenish and rejuvenate!

Apricot Banana Chews
yields 1-1/2 dozen medium cookies


Ingredients:

1/2 cup dried banana (I recommend the organic raw barnana brand)
1 cup dried apricots
2 cups unsweetened shredded coconut (I use reduced fat organic coconut)
1 heaping tablespoon orange zest
3 tablespoons fresh orange juice
1 tablespoon fresh lemon juice
2 tablespoons fresh grapefruit juice

Directions:

1.  Food-process the banana, apricot, coconut, zest and juices. 

dried Barnana--nothing but pure organic banana


make sure your dried apricots are simply dried apricots; nothing added!


Fresh grapefruit is a prefect tangy contribution, or simply use lemon and orange


Add a little more water or lemon juice if needed.  Mixture should stick together slightly.
2.  Roll into little balls and flatten slightly.  Roll in additional coconut if desired.  Store in an airtight container in the fridge for up to 5 days.


Thursday, August 21, 2014

Chocolate Barnana Brownies


This is a fast, 6 ingredient brownie that will satisfy any dessert craving yet still keep your clean eating lifestyle or diet on track.  It's a great post-workout protein source and quite yummy at that!

Oh yes.  I forgot to mention; it's not a misspelling.  My Chocolate Barnana Brownies are made with dried barnana; they are a simple and delicious brand of dried banana that makes an excellent treat or snack on its own.  I adore them because there is nothing in them save for organic bananas.  Add them into this brownie recipe and the result is simply divine.

Chocolate Barnana Brownies
Yields 8 to 10 little brownie bites

Ingredients:

3/4 cup raw organic walnuts
1/2 cup raw organic almonds
1/2 cup barnana pieces (about 12-14 pieces)
1 teaspoon pure vanilla extract
2 tablespoons raw cacao powder or cocoa powder
1/8 teaspoon sea salt (optional)


Directions:

1.  Food process the nuts until they become fine and begin to break down.
2.  Add in the vanilla continuing to mix.
3.  Add the cacao powder (or cocoa), salt (if using) and barnana pieces.  Mix until well combined and mixture sticks together.
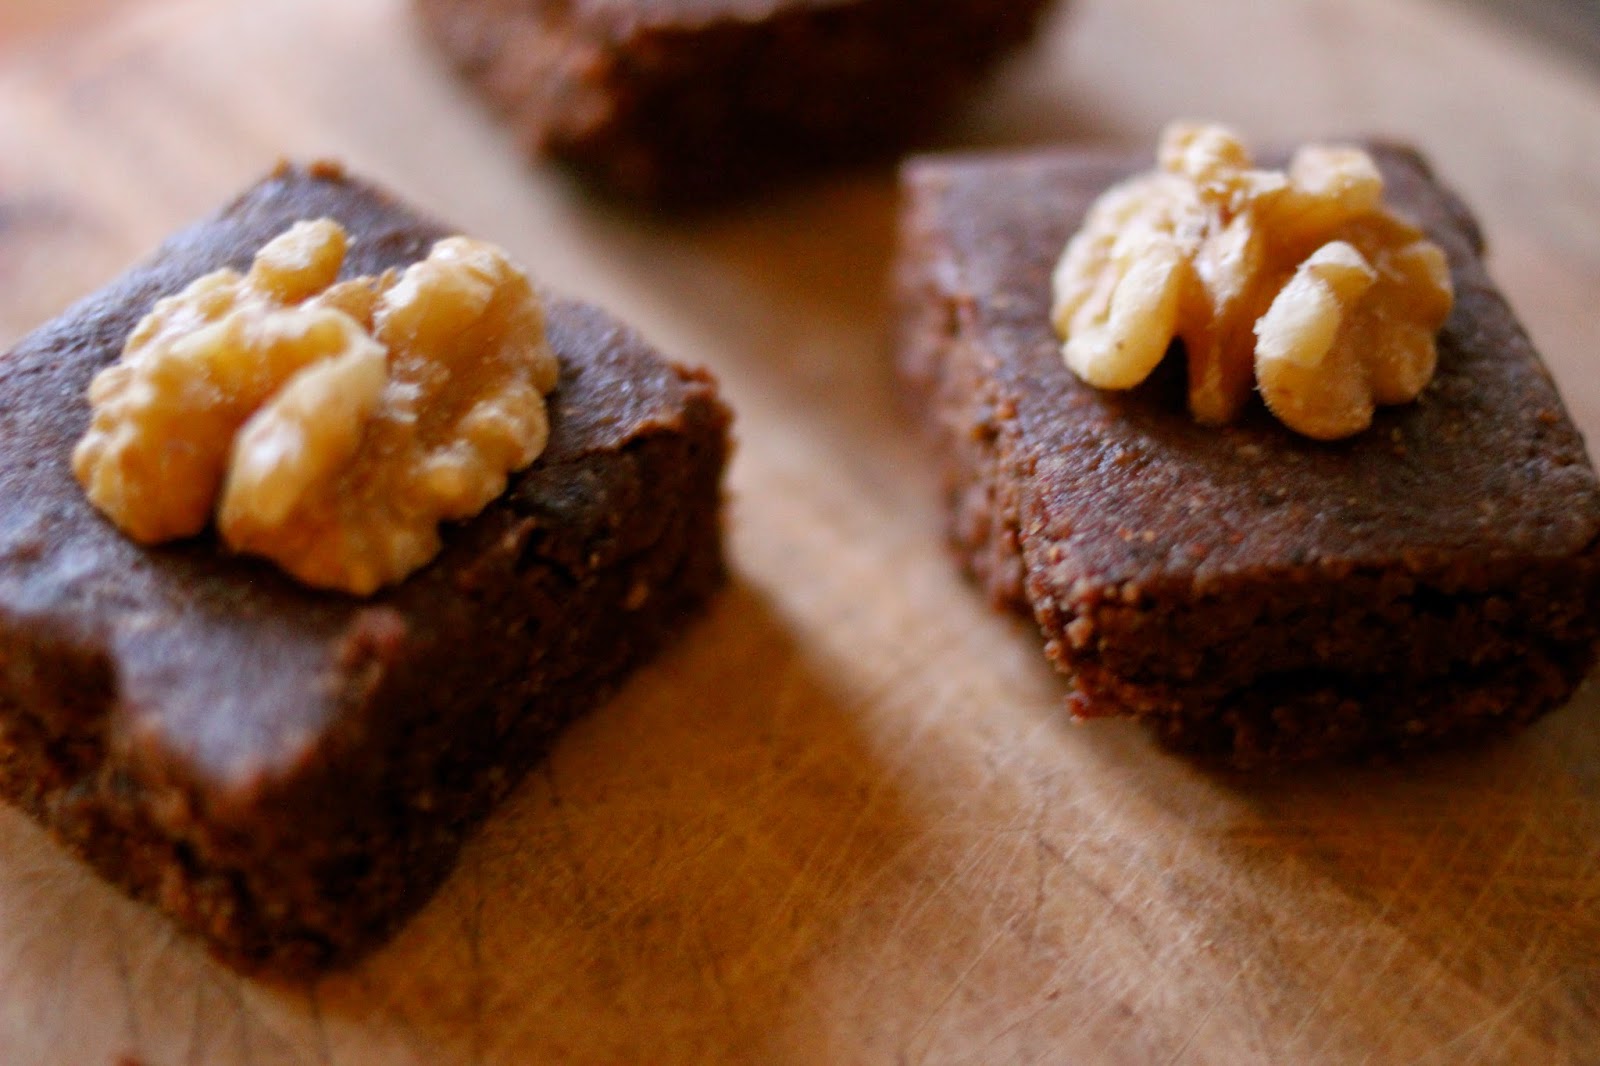
4.  Press the mixture into a mold or lined container.  Freeze for 10-15 minutes and then cut into desired cubes.  Optional: press extra walnut halves into the brownie bites.


press the dough into a lined container or dish for a more accurate shape

press the surface flat or roll smooth
After chilling for 10-15 minutes to firm up, remove and slice into squares

optional: press walnuts into the top


This is a mild yet somehow still rich and satisfying dessert.  The tangy yet sweet barnana pieces compliment the healthy nuts and rich cocoa nicely.  Delicious!

Sunday, August 10, 2014

Sorghum Oat Granola with Goji Berries and Raisins


When I came across a couple of whole grain sorghum in my pantry, I decided on a whim to make granola.  The first time I did it, I googled "sorghum granola" and only discovered granola sweetened with sorghum.  No matter, I thought.  Since you can "pop" sorghum, I figured I could stir it into granola and it would fluff itself up into chewy kernels.

Nope.

What happens is you have a granola with what tastes like little pebbles in it.  Fail.  This time I soaked the grains, then cooked them as I would quinoa; stovetop with water.  The cooked sorghum was then stirred into the granola and baked.  A warning is to test the granola after 20 minutes.  Catch it before it is too browned; you don't want that tricky sorghum to dry out too much.  Let cool completely and then store in an airtight container.  And voila, sorghum granola!  Sorghum just may be the new quinoa...you heard that here first!


Sorghum Oat Granola with Goji Berries and Raisins

Ingredients:

1 cup unsweetened shredded coconut
2 cups gluten-free oats
2 to 3 cups cooked sorghum
1 cup sunflower seeds
2 teaspoons vanilla
drizzle of coconut nectar
drizzle of coconut or olive oil
1 heaping teaspoon cinnamon
3/4 cup goji berries
1 cup raisins


Directions:

1.  COOK SORGHUM.  Oh my gosh, I can't stress that enough unless you want to break a tooth on some hard pellets.
2.  Stir all ingredients together except goji and raisins (add them after baking).
3.  Bake at 350 for 20 minutes, stirring occasionally.  Bake up to 20 more minutes as needed; remove from oven when oats start to turn lightly golden.  Add berries and raisins last.

Saturday, July 26, 2014

Gluten-Free Pulp Bread


There's no real way around it; pulp bread does not look or sound good.  But, I was pleasantly surprised when despite the, um, earthy appearance, the bread had a really good flavor.  Weird, but good.  The texture was nice too--not too doughy, and nice and flavorful.

A bonus trick--if you juice with a medley of fruit and veggies, then every bite of your bread could potentially be a surprise.  One bit might have beets and carrot, and the next could have apple and ginger.  You never know! 

This is really a relatively quick and simple way to use up the fiber and pulp from juicing.  Some of my other fave ways to use pulp are pureeing it into soups or smoothies, or working into a little patty with beans for little bean cakes.  But this little bread is a fast and easy option; you can even just use one bowl!  Talk about simple and clean.  Oh and by the way, it's quite tasty as-is, or, dollop a little homemade applesauce on top.  Yum!


Gluten-Free Pulp Bread

Ingredients:

1-1/2 cups gluten-free flour
2 tablespoons chia seeds
1-1/2 teaspoons baking powder
dash of sea salt
1 teaspoon cinnamon
1-1/2 cups pulp from juicing
1 teaspoon vanilla extract
1/4 cup olive or avocado oil
1/4 cup maple syrup
1/4 cup coconut milk
1/4 cup applesauce (optional)


Directions:

1.  Whisk dry ingredients together.  Stir in pulp and wet ingredients, mix well.


2.  Pour into parchment-lined loaf pan and bake for 40 minutes at 350. 


Let cool for a few minutes before removing from pan.  Slice and serve!


Wednesday, July 16, 2014

Banana Fig Truffles


Somehow I never buy the correct amount of bananas; I usually have one on the counter that I don't know what to save for--a baked good?  The husband's lunch?  Sliced with sunflower seed butter?  A smoothie?  And so on.  It's too much pressure.

Or, I end up somehow with about 10 bananas despite there just being the two of us.  (Well okay, Yogi and Zeke beg for bananas too, but it's not like I give them a whole one).  Then they slowly turn brown (the bananas), and make me feel guilty every time I see the bunch(es).  I think "Oh, I should make something with those" until they start to gross me out with their creepy spots and I end up just tossing them in the freezer to deal with later. 


Long story short, I made this recipe because I had half a banana and didn't know what to do with it.  Yes, I'm that weird--I can't eat a banana plain.  Hide it under sunflower seed butter and slather it with rice chocolate?  Mash it with warm quinoa and cinnamon? You bet!  But a plain bite of banana?  Yuck.  So in these little truffles, the banana lends texture and sweetness without being overwhelmingly banana-y.  You know what I mean.


Banana Fig Truffles

Yields 15-20 little truffles

Ingredients:

1/2 banana
8 dates
5 figs
1/2 teaspoon pure vanilla extract
1 cup sunflower seeds
1-2 TBSP pea protein powder (or protein powder of choice)
optional 2 TBSP mini rice chocolate chips


Directions:

1.  Food process ingredients, then roll them into little balls.  Chill for 20 minutes to firm.  If desired roll in topping of your choice before chilling.  Chia seeds, coconut flakes and matcha green tea are all phenomenal choices!


Here's a handy trick:  roll any truffle in chia seeds for a (crunchy) healthy kick.  Roll them in matcha green tea powder for a nice elegant look.  And coconut just because.


oh yes please! 

Friday, July 11, 2014

Chocolate Zucchini Pancakes: A Delightful Combination of Random Flavors


These thin, spicy-sweet pancakes are actually more of a cookie hybrid. Cancakes?  Pancookies?  Nope.  I don't think I've developed the next "cronut."  Regardless, these little bites are a delicious, easy way to use up some of that seasonal zucchini and leftover quinoa.

Growing up, one of my favorite desserts was a zucchini chocolate cake my mother made.  Despite being packed with zucchini, it wasn't exactly light or healthy; it was packed with sugar and oil. (But it was seriously, seriously good).  So, I was delighted when this little cookie pancake-y thing turned out to have a similar taste and texture.  Chewy but somehow still slightly fluffy and certainly not gooey, this is one treat that is actually better not fresh out of the oven.  I discovered that when they cooled and firmed a little, they became a fun and portable (win!) little snack.  And tomorrow morning on my way out the door, I will discover how well they keep overnight...and fuel me through my morning.

Chocolate Zucchini Pancakes
yields about 30 mini pancakes or 15 medium ones

Ingredients:

1 cup gluten-free flour (a filling combo is 1/2 cup quinoa flour, 1/4 cup brown rice flour, 1/4 garbanzo bean flour)
1 teaspoon cinnamon
1/2 teaspoon nutmeg
1/8 teaspoon sea salt
1 cup cooked quinoa
2 tablespoons flax meal mixed with 1/4 cup water
1/3 cup pure maple syrup
2 tablespoons coconut oil, melted
1-1/2 teaspoons pure vanilla extract
2 tablespoons unsweetened cocoa powder
1/2 cup nondairy chocolate chips (optional)
1 cup shredded zucchini (heaping)*

Directions: *

*These can be made stove-top in a pan or on a griddle, or baked in the oven.  If you choose the oven method, preheat the oven to 350 degrees and dollop the batter onto greased cookie sheets or sheets lined with silpat or similar nonstick mats.
1.  Mix wet ingredients together.
2.  Fold in dry ingredients, then the quinoa.
3.  Stir in zucchini, and chips last.
4.  Prepare as you normally prepare pancakes or bake according to the directions above.
5.  Let cool for a few moments and enjoy cool or heat before serving if desired. 

*Zucchini tip:  If you find that when you grate the zucchini, it is super soggy, then simply press it between two paper towels to soak up some of the moisture.

I used red quinoa, but any will do!
cook your quinoa stove-top...or in a rice cooker! 1 cup quinoa to 2 cups water
I like Bob's Red Mill Gluten-Free flour as a quick go-to...no xanthan gum in here!
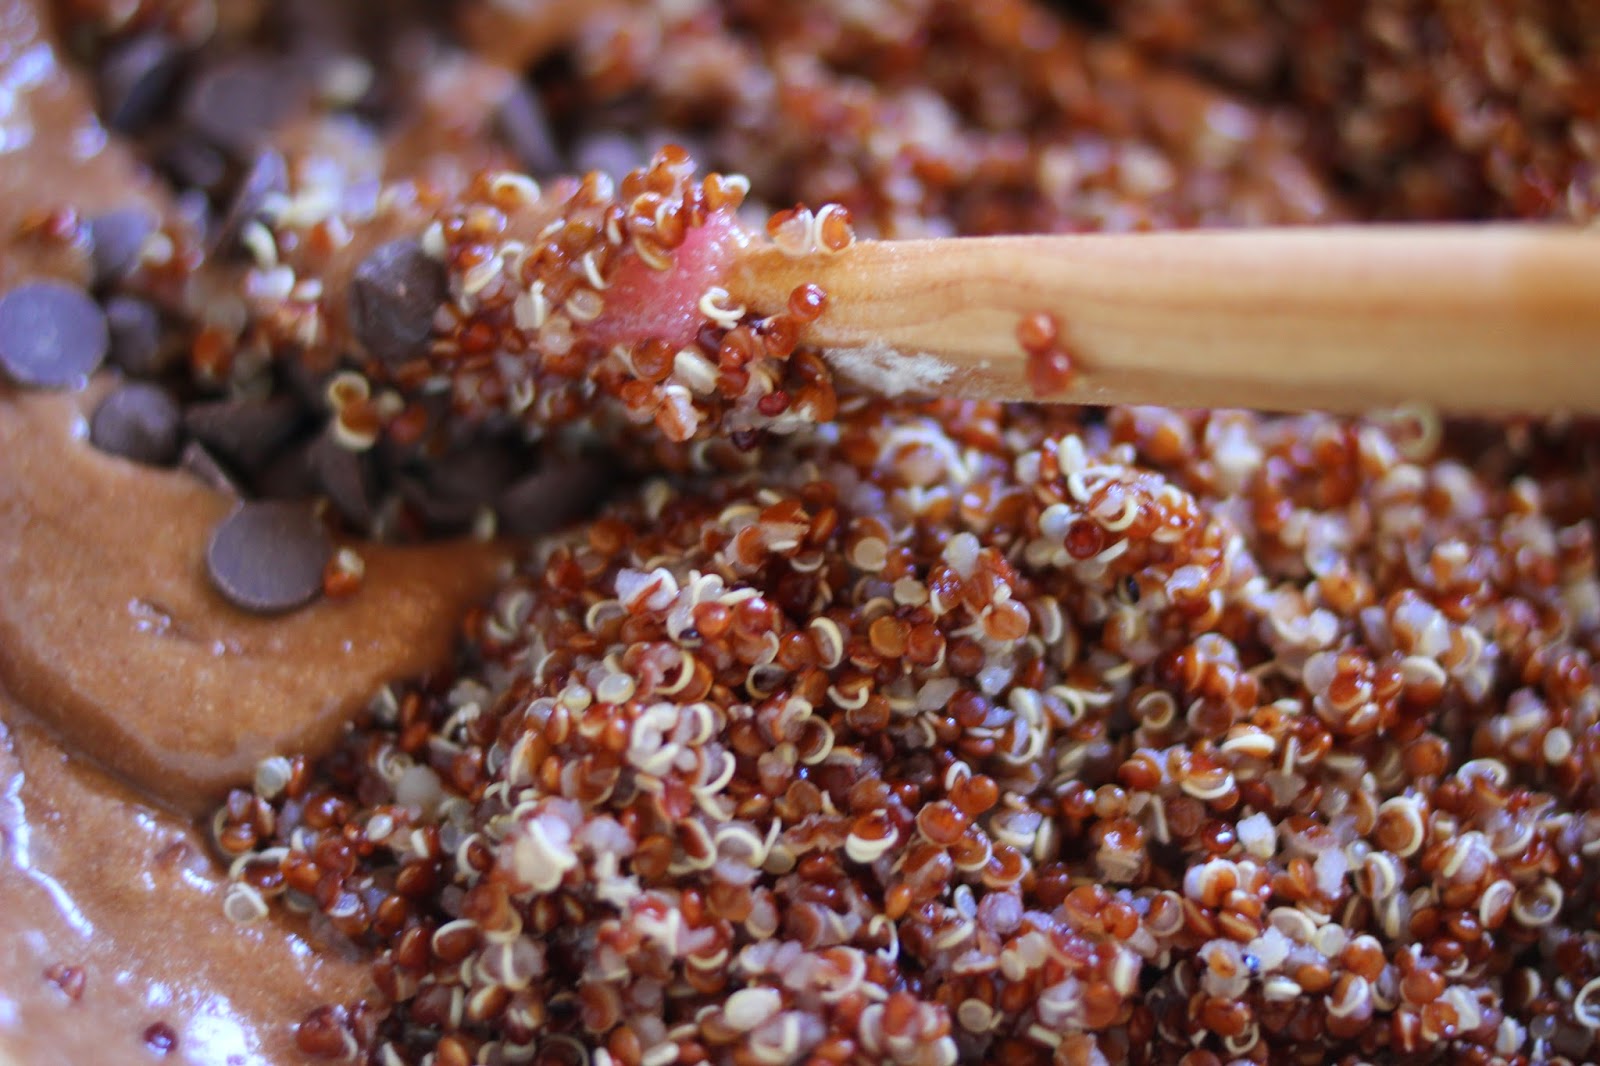
add quinoa...and stir!
Heaping zucchini!  Lots and lots ;)